💧 No Water Needed, Just Style
If you're new to our No-Water Tattoos, don't worry – applying them is as easy as putting on a sticker. Here's everything you need to know to get the perfect result every time.
✨ What You’ll Need:
-
Clean, dry skin
-
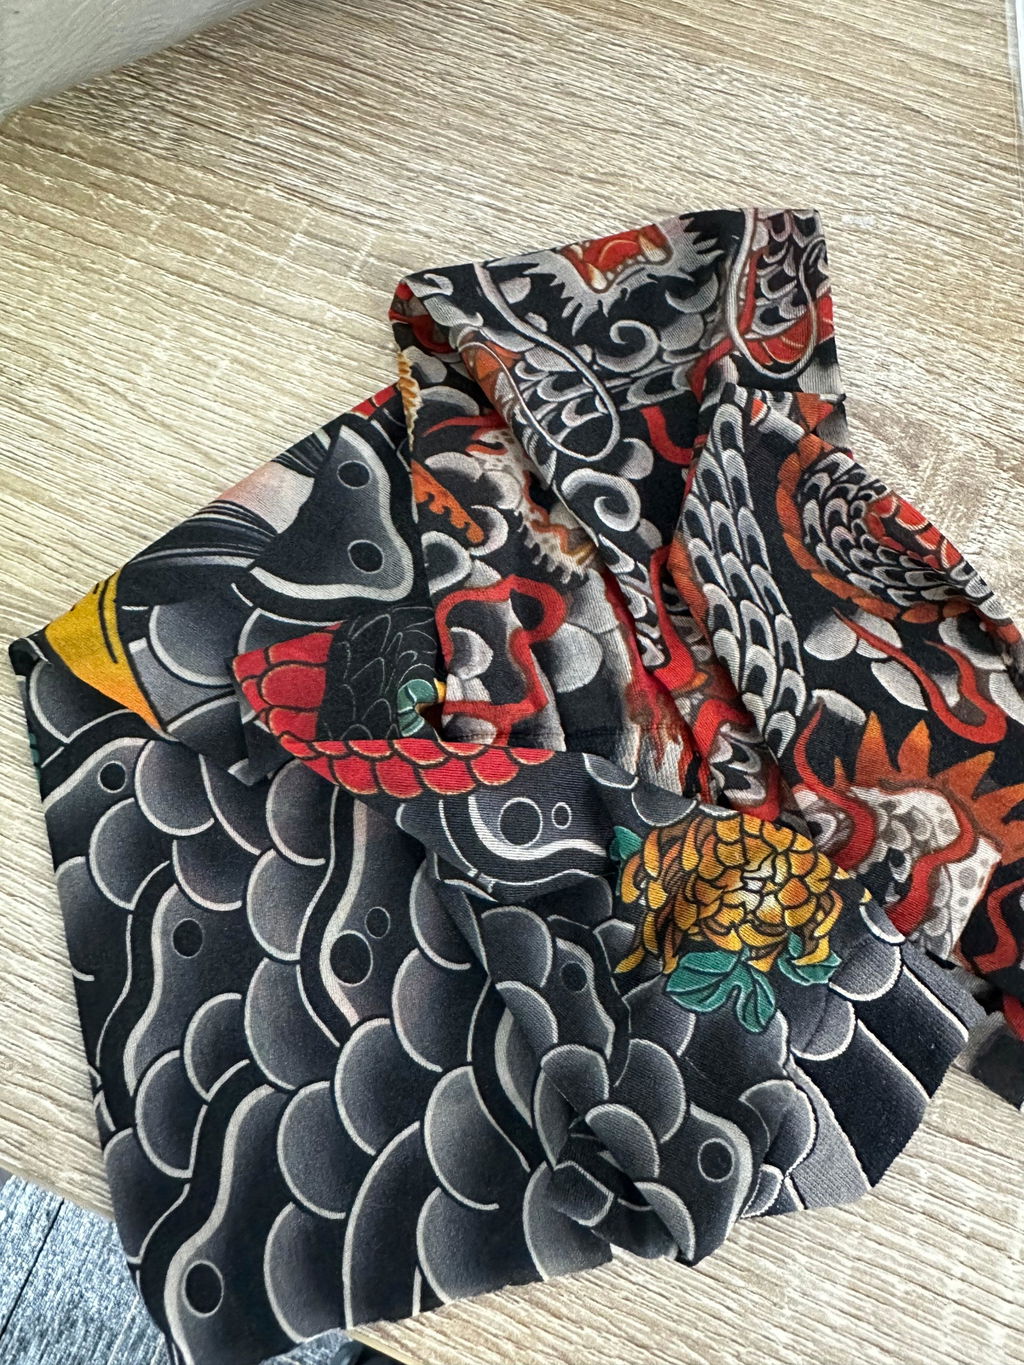
Your favorite no-water tattoo
-
Just your hands – no water, no sponge, no fuss!

Step-by-Step Application Guide
Step 1: Choose & Position
Gently peel the tattoo off the backing paper.
Stick it on clean, dry skin – avoid oils or lotion on the area.
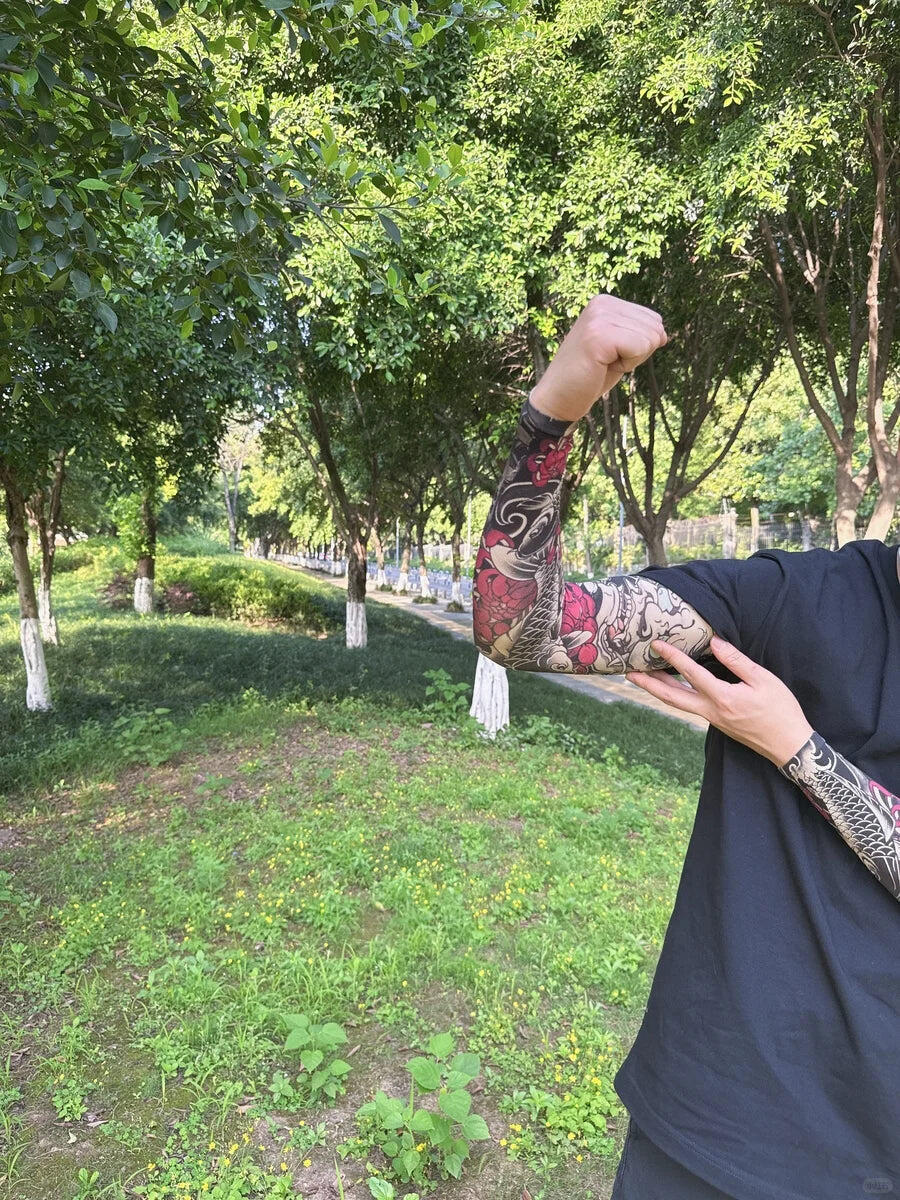
✅ Tip: Place it somewhere flat like your forearm, collarbone, or ankle for best results.
Step 2: Press & Smooth
Use your fingers to press down firmly, smoothing out any air bubbles from the center to the edges.
Hold for about 10–15 seconds.
✅ Tip: You don’t need to hold it too long – the adhesive does all the work!
Step 3: Show It Off!
That’s it – you’re done! No water, no drying time.
Just peel off the clear top layer, and your tattoo is ready to shine.
✅ Tip: Avoid rubbing or stretching the area for the first hour for the best staying power.
💡 How Long Do They Last?
Our no-water tattoos typically last 2–4 days, depending on placement and your skin type.
They’re water-resistant and can survive normal handwashing, showers, and even a light workout.
❌ How to Remove It?
To remove, simply peel it off slowly or use baby oil or an alcohol wipe for any leftover residue. No harsh scrubbing needed.
🛒 Ready to Try?
Explore our full collection of 24 unique no-water tattoo designs – from cute and playful to bold and artistic.